Showing posts with label stamp club. Show all posts

Monday, June 22, 2015

Catalogue Release Party and Father's Day 2015

Happy Monday everyone! My lovely child slept in until almost 9am this morning, so I got to sleep in as well! So nice :)  These first two cards were made at the 2015-16 Stampin' Up catalogue release party that I attended at the beginning of June.  This card features one of the new In Colors for the next two years, Watermelon Wonder.  And the coordinating ribbon is oh-so-soft!

This card features Island Indigo card stock and ink, I believe, and the technique of stamping off your color to obtain a ombre effect.  I gave this card to my hubby for his first Father's Day.

And finally, these are the cards that I gave to our dads this year.  I made a mistake and put the fold for the card on the wrong angle, so instead of wrapping the ribbon around the card, I punched a few holes and wove it through instead.  Inspiration from Pinterest, of course.  Stampin' Up supplies used: Dictionary Background stamp (retired), Classic Alphabet (retired), Staz-on Black ink, Sahara Sand ink pad, 1" square punch, On Point Textured Embossing folder (currently in the clearance bin), Gold Baker's Twine, and Gold Basic Metal Buttons.  Hope you all had a wonderful weekend! <3 JEM

Saturday, January 31, 2015

Card Making Night

Hey everyone!  Just wanted to share the cards that we made at our get together last Monday.  It was so good to see the ladies again!  I love the new paper used in this first card.  It's white with a glossy pattern on it, so you can color it however you want to reveal the pattern!  And I just noticed how not straight mine is.. whoops... :)

I really like the layering on this card, and how it makes the tree look larger.  We used a punch for the ribbon, so we could slide it through the paper.  I wasn't a huge fan, as I didn't like the direction my ribbon ended up going.  Oh well!

This card uses those amazing new butterfly thinlits from Stampin' Up.  I'm so in love with these!  You can't tell from this picture, but the butterfly paper is iridescent, so it's got a little sparkle to it.

Another card with the butterfly thinlit.  Just makes me want to go play in my craft room!  <3 JEM

Sunday, June 22, 2014

June Stamp Club Creations

Hello everyone!  Hope you had a wonderful weekend and are enjoying summer!  I just want to share the two cards we made for Stamp Club this June.  Unfortunately, Stamp Club will not be continuing this fall, but there may be the odd get together to make cards. (I'm already looking forward to that!)  I sent this first card to my uncle for his birthday.

I gave this card to my dad for Father's Day.  I love how the daubed edges of the card and ship make it slightly antique looking.  Hope you have a good night :)  <JEM

Sunday, March 16, 2014

New Stuff!

Creative title, I know :)  Here's a few cards I've made over the past month.  This first one was for my hubby's friend's wedding.  I really liked what Stampin' Up had done to showcase this stamp in the Annual Catalogue, so I decided to recreate it for this card.  It was a very beautiful wedding.

This card was for some friends who have had a crazy February.  Within three weeks they had lost their grandmother, mother, and celebrated the birth of their daughter.  I found the idea on pinterest and just used what I had.

This card was made at Stamp Club this month.  I absolutely love the Sale-a-bration embossing folder and cannot wait for it to arrive and be mine :)  I'm also in love with the DSP so I ordered some of that, too.

We learned about mirroring stamps at Stamp Club and came up with this beautiful card.  I gave it to my hubby this past week when we celebrated our 3rd anniversary!

And finally, this card is for a baby shower I'm going to tomorrow night.  I have loved this stamp for a long time, but never had the markers to pull off the multi-colored effect.  Now that I do, I just love the way it looks.  Hope you enjoy! <3 JEM

Monday, February 17, 2014

Some Stamp Club Creations


Hello everyone!  It's really nice to have a three-day weekend - I'm finally checking some stuff off my to do list.  The following cards are the ones we've made at stamp club the past two months.  I've been feeling pretty dry creatively at the same time, but I suppose that is because my body has gone into creative overdrive, forming a little life inside :)  I don't mind that!  Anyway, hope you enjoy the cards :)  <3 JEM


Sunday, December 1, 2013

November Stamp Club

Hey all!  I just wanted to share the cards that were made at November's Stamp Club.. I unfortunately missed the class as I was in Vancouver for a choir tour.  It was a really great time, but I did miss my night with the ladies!  I'm really looking forward to next week's class to get my card making mojo on again!

<3 JEM

Saturday, October 19, 2013

Babies and Stamp Club

Hello, my crafty friends!  Once again, it has been a while, but it is no fault of mine!  The earliest we could get our internet installed after moving was a week, and then when the day came, they somehow got the location mixed up so they had someone halfway across the province ready to give us internet.  o_0.  At least they gave us a two week credit for our troubles!  Couldn't really ask for more :)  Anyway, on to the cards!  Today I went to a baby shower for twin girls.  Soooo cute :)  So I made this quick little card.  The card stock is from a friend, the ribbon is from a gift, and everything else is Stampin' Up.  I think that a brayer creates a really cool look, quickly!

These next two cards are from Stamp Club, so everything is Stampin' Up, naturally!  This month we were making Christmas cards and focusing on different ink techniques.  This first card involves inking up a stamp and then dabbing it with a darker shade for a dimensional effect.

This card involves using a textured stamp on a solid stamp.  First you ink your solid stamp with the lighter color.  Then you ink your textured stamp with a darker color (in this case, we used the woodgrain stamp).  Then you press your solid stamp onto the textured stamp and then onto your paper.  It looks like a carving!  Hope you enjoyed! <3 JEM

Sunday, September 29, 2013

Moving & Orders

Good Morning everyone!  It has been a LONG time since I posted anything... but I have a very good reason!  We are moving this week!!!  We were showing our condo for all of August, and I discovered that it's very hard to be creative and keep things tidy at the same time (at least for me!).  But I also had two orders to get done, and Stamp Club in between, so I thought I would just share the new cards I tried out.  I will unashamedly admit that pretty much all my inspiration came from Pinterest - these layouts are not my own.  Anywhoo, on to the cards!  This first card was made at Stamp Club, and therefore everything used is Stampin' Up.

This card is also from Stamp Club.  We tried out those new card layouts.  I think they're neat, but not really my style.

All the cards from here on I made myself. For this card, the paper, flowers, and brads are from a friend, the ink is from my mom, and the branch stamp is Stampin' Up.  I'm not sure where the Thank You stamp is from.

The orange and white card stock in this card is from a friend, as well as the brads.  The grey card stock is from Michael's, and the ink, stamps, patterned paper, punch, and piercer are Stampin' Up.  The twine is from a gift.

The stamp, framelit, paper piercer and patterned paper from this card are Stampin' Up.  The green paper is from a daytimer, and the sparkly brown is from a friend's wedding invitation.  The card stock is from Michael's.

The ribbon and pin in this card are from a friend, the chevron embossing folder, patterned paper, stamps, ink, and brayer used are Stampin' Up.  The grey card stock is from Michael's.

All the paper used in this card is from a friend, and the embossing folders are Stampin' Up.

The purple, white and yellow paper in this card are from a friend, the pinwheel, embossing folder, and edgelit are Stampin' Up.  The brad, stamp, and ink are from my mom, and the brown paper is from our wedding photo display.  The grass paper is from Michael's.

The yellow, orange, white, and green paper here are from a friend, the brads and ink are from my mom, the blueish paper and duck paper are from Michael's, and the stamps, ribbon, and embossing folder are Stampin' Up.  The twine is from my sister.

The grey card stock here is from Michael's, the gems are from some of our wedding ornaments, the cream paper is from my Opa, and everything else is Stampin' Up.

All the paper used in this card is from my ever so generous friend.  The brad, embossing folder, stamp, and punch are Stampin' Up, and the ink is from my mom.

The creamy card stock in this card is from Michael's, and the green and colored paper is from an unused daytimer.  The embossing folder, stamp, and framelit are Stampin' Up, and the ink is from my mom.

I love this card!  And owls in general :) The brown paper used in this card is from our wedding photo display, the purple patterned paper is Stampin' Up, and all other paper is from my friend.  She also supplied the brad.  The punches, ink, stamps, and framelits are Stampin' Up, and the twine is from a gift I received.

This is probably the most painstaking card to make.  So many little circles, and I made the mistake of making three of these at once.. NEVER again.  But it sure is darn cute.  All the paper here is from a friend, the ink is Stampin' Up, and the stamps I believe are from Michael's.

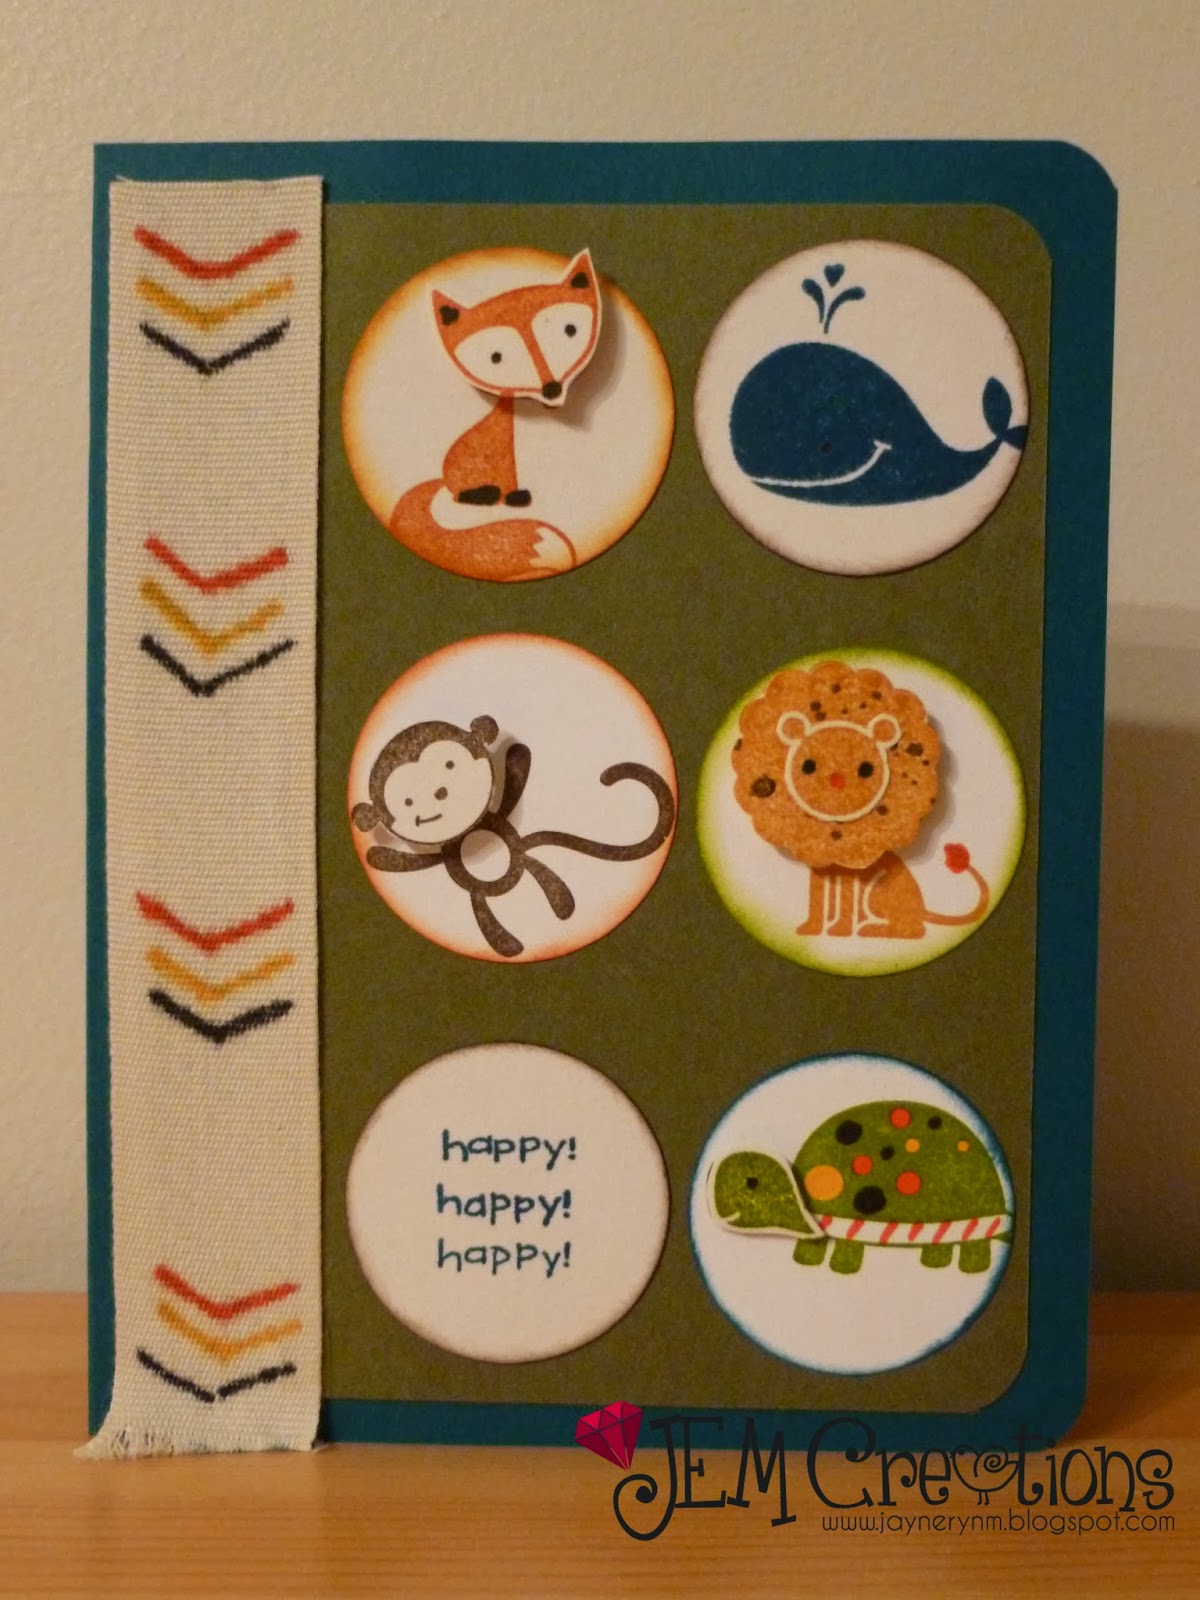
I made a few versions of this card, including one for a baby shower.  So fun :)  The stamps and ribbon are Stampin' Up (which I used sharpie marker on for the chevron pattern).  The ink is from my mom, the blue card stock from Michael's, and the green card stock is from the old daytimer.

All the background paper on this card is from Michael's.  The paper for the presents is Stampin' Up, as well as the punch.  I'm not sure where I got the stamps from, but the ink is from Michael's as well.  I used a dab of glitter glue from a friend, and the ribbon is from my cousin's wedding favors.

And to end things off (if you made it this far, I'm really impressed!), I've posted one of my favorite cards from the card making extravaganza.  All the colored paper here is from a friend, the white is leftover from the missionary cards I made, the ribbon is from my cousin's wedding favors, and the embossing folder, stamps, and punches are Stampin' Up.  The ink is from my mom.  To make the flames, I used the bird wing from the Stampin' Up bird punch, used a sponge dauber to color the flame, and then topped it with some glitter glue from a friend.  Hope you liked all these cards! <3 JEM

Tuesday, August 13, 2013

Stampin' Fun!

Happy Tuesday evening everyone!  I just wanted to share these cards that I made last week when I went to a Stampin' Up evening.  There were only a few of us, but it was a lot of fun, and I got a lot of inspiration for my cards that night!    Everything in this post is Stampin' Up.  Hope you enjoy and get inspired, too! <3 JEM


Wednesday, July 17, 2013

July Stampin' Fun!

Hey everyone!  I haven't posted in a while because I was away on holiday..  Backpacking on the West Coast.  Sooo much fun!  I love being outdoors.  When we got home, I spent my first night at a Stampin' Up party, and this is the card we made.  I really love the new ruffled ribbon and the chalk stamp look.  Hope you enjoy!  <3 JEM

Sunday, June 16, 2013

Stampin Up Card Club Creations

Hey!  Just wanted to share the latest cards we made at Stamp Club this month.  This first card uses a technique that I can't wait to start exploring with different shapes.  You punch out a translucent window sheet, lay it on your card, and ink up with your dauber!  Such a cool idea.  You can do this with anything - butterfly punches, squares, etc.  The circle punch works with a bunch of stuff like bubbles, balloons.. you name it!

On this second card we used stamp wheels (I can't remember the right name at the moment!) for the blue plaid on the bottom.  I was really glad to try this out, because I'm thinking of purchasing some wheels pretty soon!

And this last creation we made at our pickup night.  It unfolds to hold a sticky notepad!  You could use this for so many occasions like Christmas, Halloween, thank you gifts, etc.  LOVE it!  <3 JEM